Autumn Crafts for Kids: 7 Ideas from Our Studio
Art for Kids · Wed 30 September
Autumn is the best season of the year for crafts with kids. The materials are lying on the pavement for free: leaves, conkers, pine cones, acorns. And the evenings are finally long enough to sit down and finish something properly.
Here are 7 autumn crafts we make with children at our Wilanów studio, or recommend to parents for home. Each one comes with an age, a time, a materials list and step-by-step instructions. There are ideas for preschoolers (3–6) and for older kids (7–12).
Which craft for which age?
- Ages 3–5: leaf printing, pine-cone hedgehog, cotton-bud autumn tree
- Ages 5–8: leaf animals, papier-mâché toadstool
- Ages 7–12: papier-mâché fruit, a Cézanne apple still life
Younger children can do the older projects alongside an adult. The grown-up does the cutting and gluing, and the child paints.
Before you start: collecting and pressing leaves
Pick leaves on a dry day. Wet ones go mouldy, and ones that are already too dry crumble in your fingers. At home, lay them between sheets of old newspaper and press them under a heavy book for 2–3 days. They come out flat, keep their colour and stop curling on the page.
For printing (idea no. 1) you want fresh leaves, not pressed ones. That way the veins stand out and show up on the print.
1. Leaf printing
Age: 3+ · Time: 30 minutes
The simplest autumn craft there is, and one of the most striking. Every print is different, and children see straight away how a leaf is built.
You'll need: fresh leaves (maple, oak, horse chestnut), poster or acrylic paint, a brush or sponge, thick drawing paper
- Lay the leaf on newspaper, veins facing up. The underside has the most texture
- Brush on a thin coat of paint. Two colours side by side, like red and yellow, look lovely
- Flip the leaf paint-side down onto the paper, cover it with a scrap sheet and press firmly with your hand
- Peel off the scrap sheet and lift the leaf carefully by its stem
Tip: too much paint = a smudge. The coat should be thin enough to see the veins through it.
2. Pine-cone hedgehog
Age: 3+ · Time: 20 minutes
A preschool classic that never fails. The pine cone is a ready-made spiky back, so all the child adds is a face.
You'll need: a dry, open pine cone, brown or beige modelling clay (plasticine), black clay or beads for the eyes and nose
- Roll the clay into a cone. That's the hedgehog's snout
- Press it firmly into the wide end of the pine cone
- Add two tiny black eyes and a nose on the tip
- Spear a small leaf or a rowan berry on the spikes, as if the hedgehog is carrying food for winter
Tip: cones picked up off the ground are often damp. Leave them on a radiator for a day and they'll open up and dry out.
3. Cotton-bud autumn tree
Age: 3+ · Time: 30 minutes
Great practice for small hands: the child has to dab dots, not smear paint around.
You'll need: paper, a brown crayon or felt-tip, paints in autumn colours (red, orange, yellow, brown), cotton buds, a palette or paper plate
- Draw a trunk and branches. For the youngest, trace around the child's hand and forearm and you get a trunk with five branches
- Pour the paints onto the plate, one cotton bud per colour
- Dab dots around the branches, thick at the tips, then thinner further in
- A few dots at the bottom of the page are leaves that have already fallen
4. Leaf animals
Age: 4+ · Time: 45 minutes
Pressed leaves come in ready-made shapes: a long leaf is a fox's ear, a round one is an owl's tummy, a maple leaf is a tail. The child doesn't draw the animal, they arrange it. That's a completely different way of thinking.
You'll need: pressed leaves in different shapes and colours, a glue stick or PVA glue, drawing paper, a felt-tip for eyes and feet
- Spread all the leaves out on the table and just look at them first. Which one looks like a wing? Which one looks like a head?
- Build the animal on the paper without glue, and move things around until you like it
- Only then glue it down, one leaf at a time
- Draw on the eyes, beak and feet with a felt-tip
Tip: a quick phone photo before gluing saves the day when the leaves slide.
5. Papier-mâché toadstool
Age: 5+ · Time: 2 sessions (drying in between)
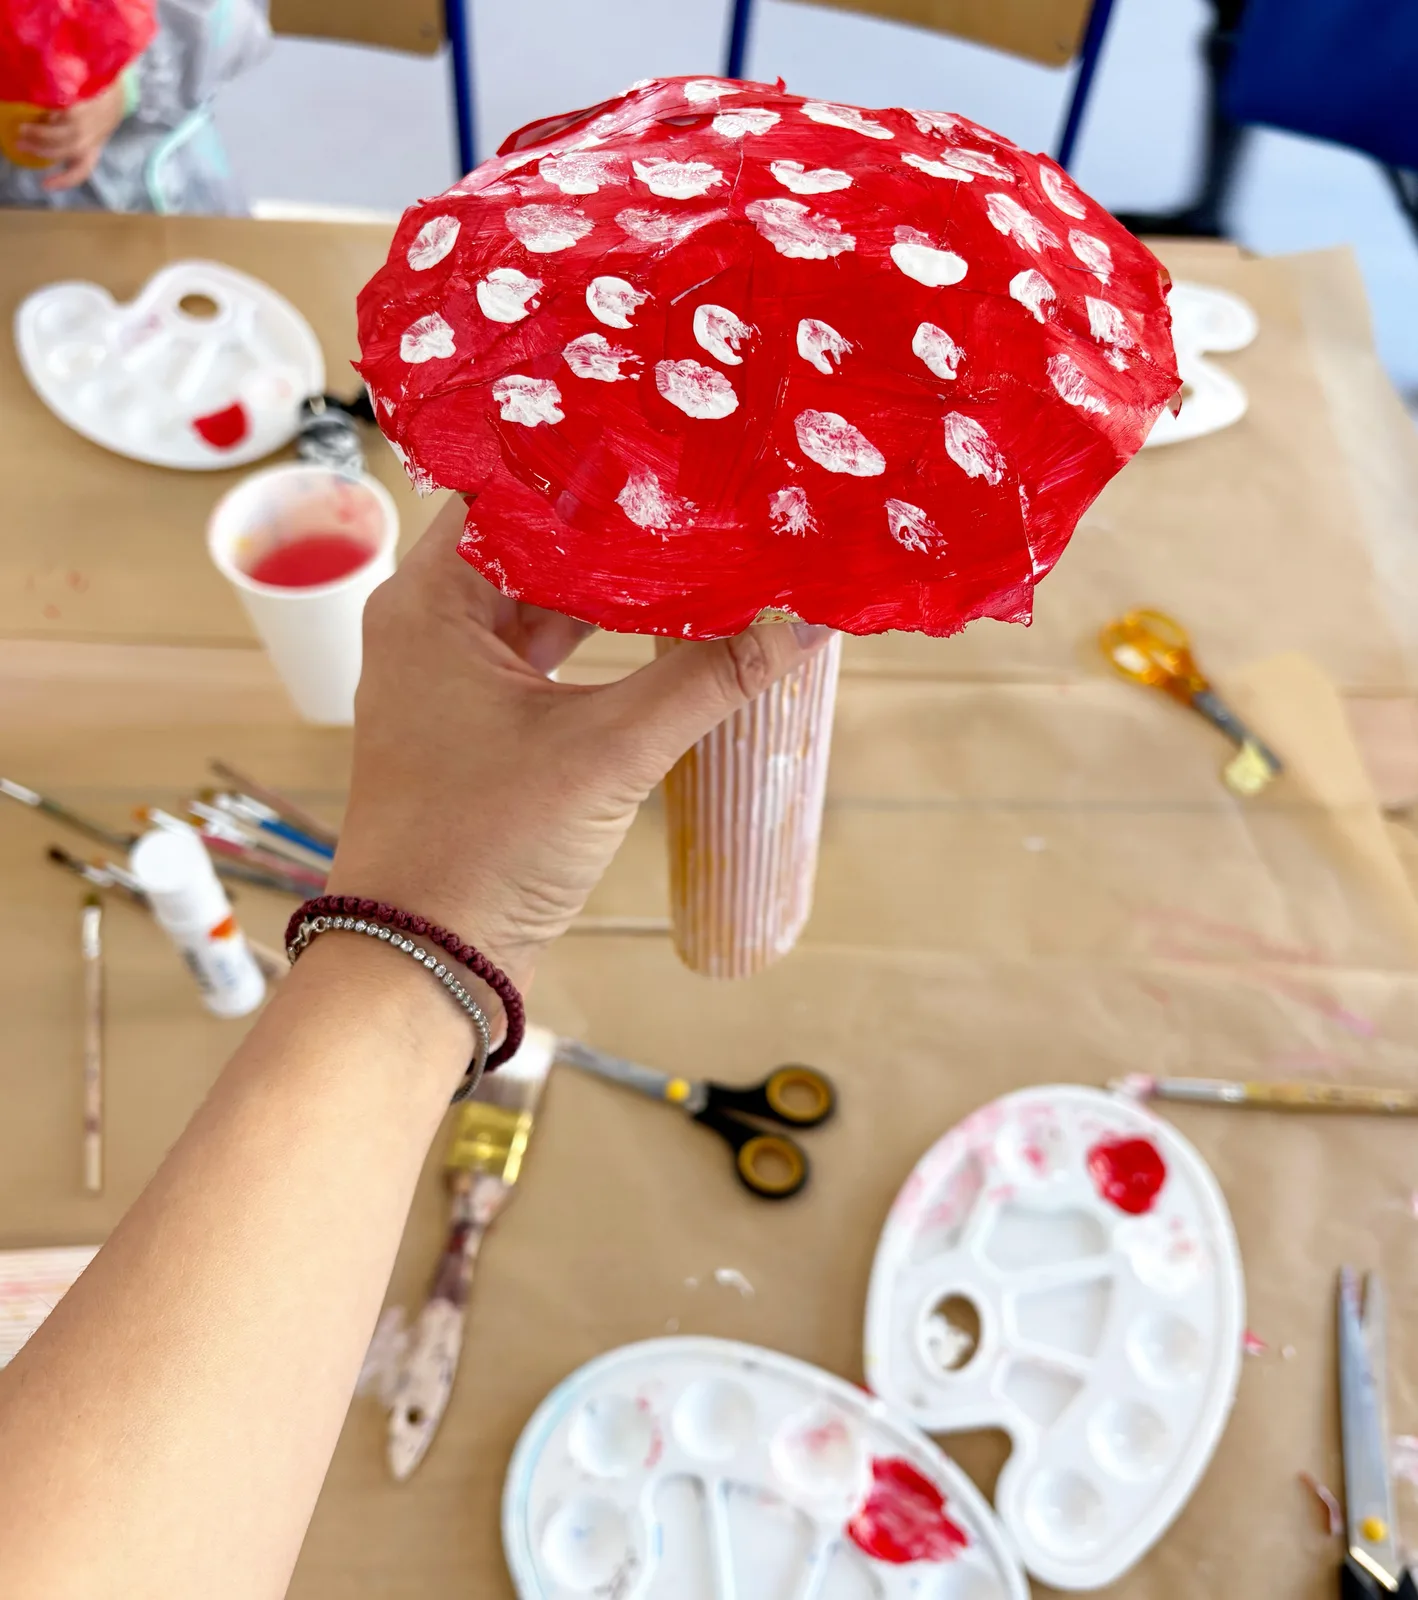
We make this one at the studio. A toadstool is the perfect first papier-mâché project, because it only has two parts: a cap and a stem.
You'll need: a bowl or half a balloon as the mould for the cap, a cardboard tube for the stem, newspaper, wallpaper paste or flour-and-water paste, acrylic paint (red and white), brushes
- Cover the bowl with cling film, then paste on 3–4 layers of newspaper strips. That's the cap
- Wrap the cardboard tube in pasted newspaper too. That's the stem
- Leave both to dry overnight
- Ease the cap off the bowl and fix it onto the stem with more pasted strips
- Paint the cap red. Once it's dry, dab on white spots with the end of a brush
What it teaches: at the studio we use this one to talk about value, which means light and dark. A darker red at the edge of the cap and a lighter red in the middle make the mushroom look round instead of flat.
6. Papier-mâché fruit
Age: 6+ · Time: 2 sessions
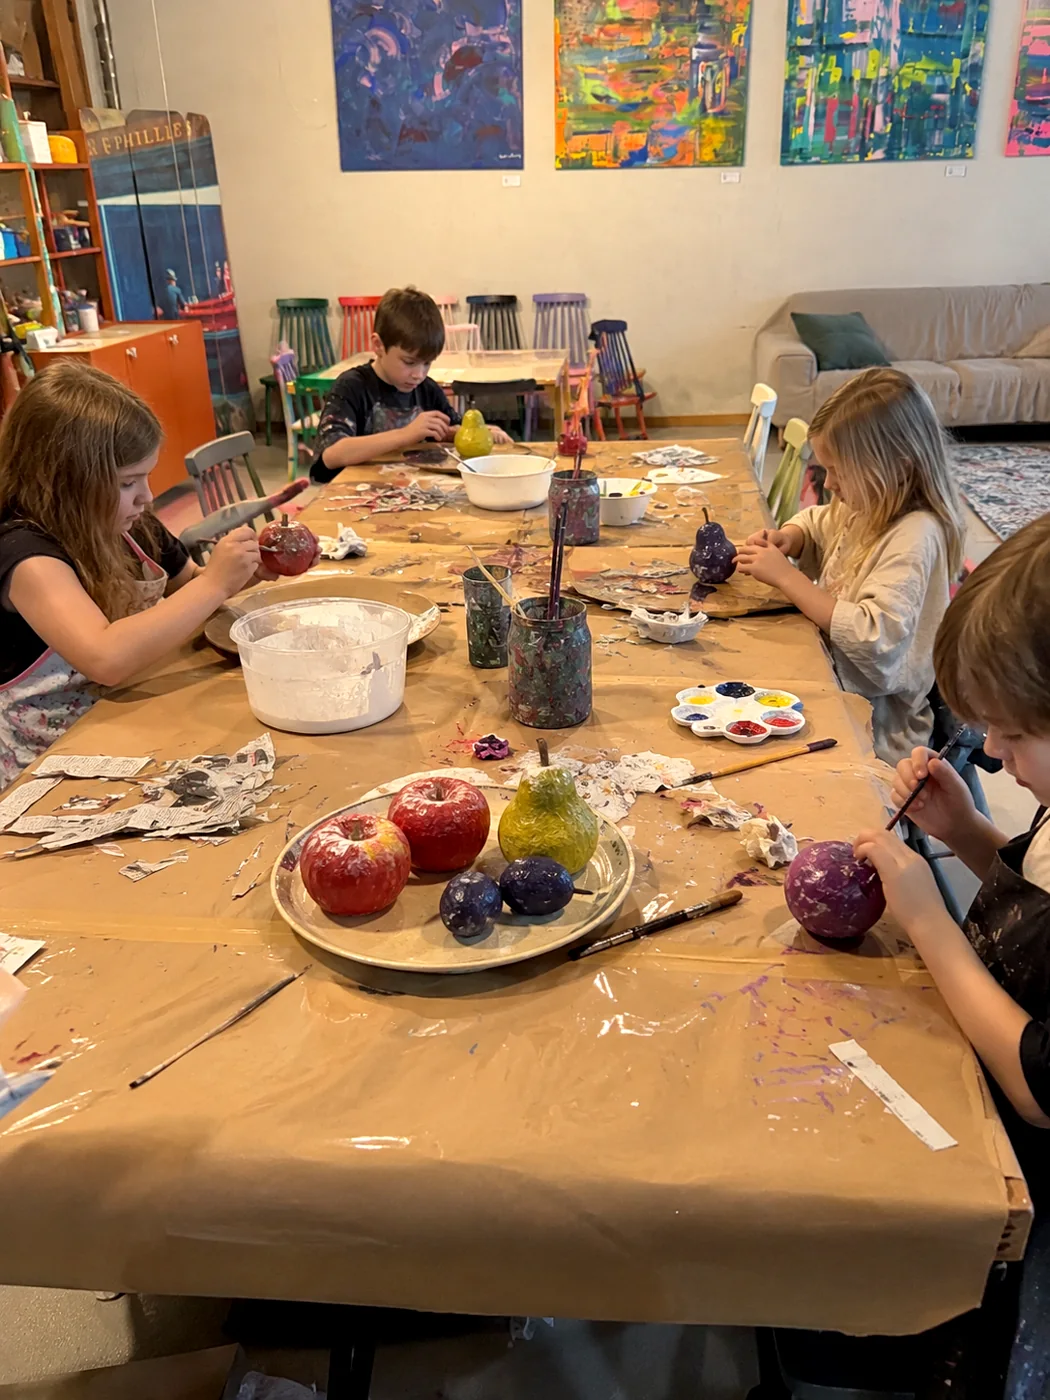
September's harvest at our studio: apples, pears and plums made from nothing but newspaper and paste. The best moment is when a soggy grey lump turns into a hard apple you can knock on.
You'll need: newspaper, masking tape, wallpaper paste or flour-and-water paste, acrylic paint, a stick or small twig for the stalk
- Scrunch newspaper into a ball and wrap it in tape so it holds the shape of an apple, pear or plum
- Cover it in pasted newspaper strips, layer after layer, smoothing each one down with your hand
- Push in a twig for the stalk and leave it to dry
- Paint it by mixing colours on the palette, not straight from the tube. Red fading into gold on the apple, green into yellow on the pear
Tip: no fruit is ever one flat colour. Have your child look closely at a real apple first.
7. A Cézanne apple still life
Age: 7+ · Time: 1 hour
One for the older kids: painting from life. Paul Cézanne painted apples all his life, and showed that an ordinary piece of fruit on a table can be the subject of a real painting.
You'll need: 3–4 apples (ideally in different colours), a napkin or tea towel, drawing paper, paints, brushes
- Arrange the apples on the napkin, close together, some partly hidden behind others
- Look at one of Cézanne's still lifes together. An image online is enough
- Sketch only the circles in pencil first, with no detail
- Paint from the biggest patches of colour down to the smallest. The shadow under the apple matters as much as the apple itself
Bonus: a free autumn colouring book
For rainy afternoons we have a free colouring book, "Squirrel Nutkins": an autumn story about a squirrel on a treasure hunt. You can download it and print it at home from our colouring page.
Want to make something bigger?
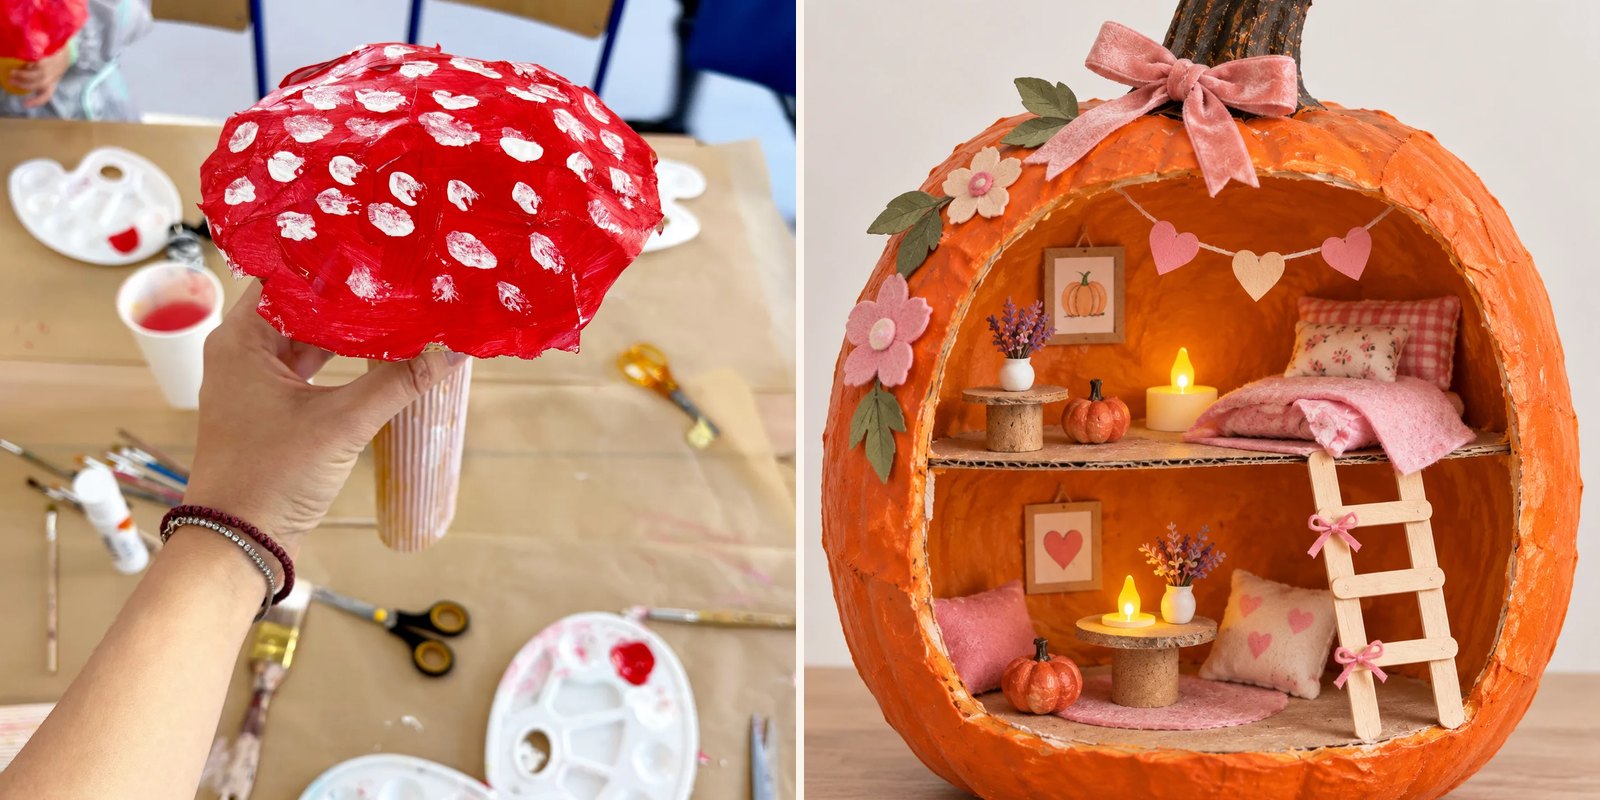
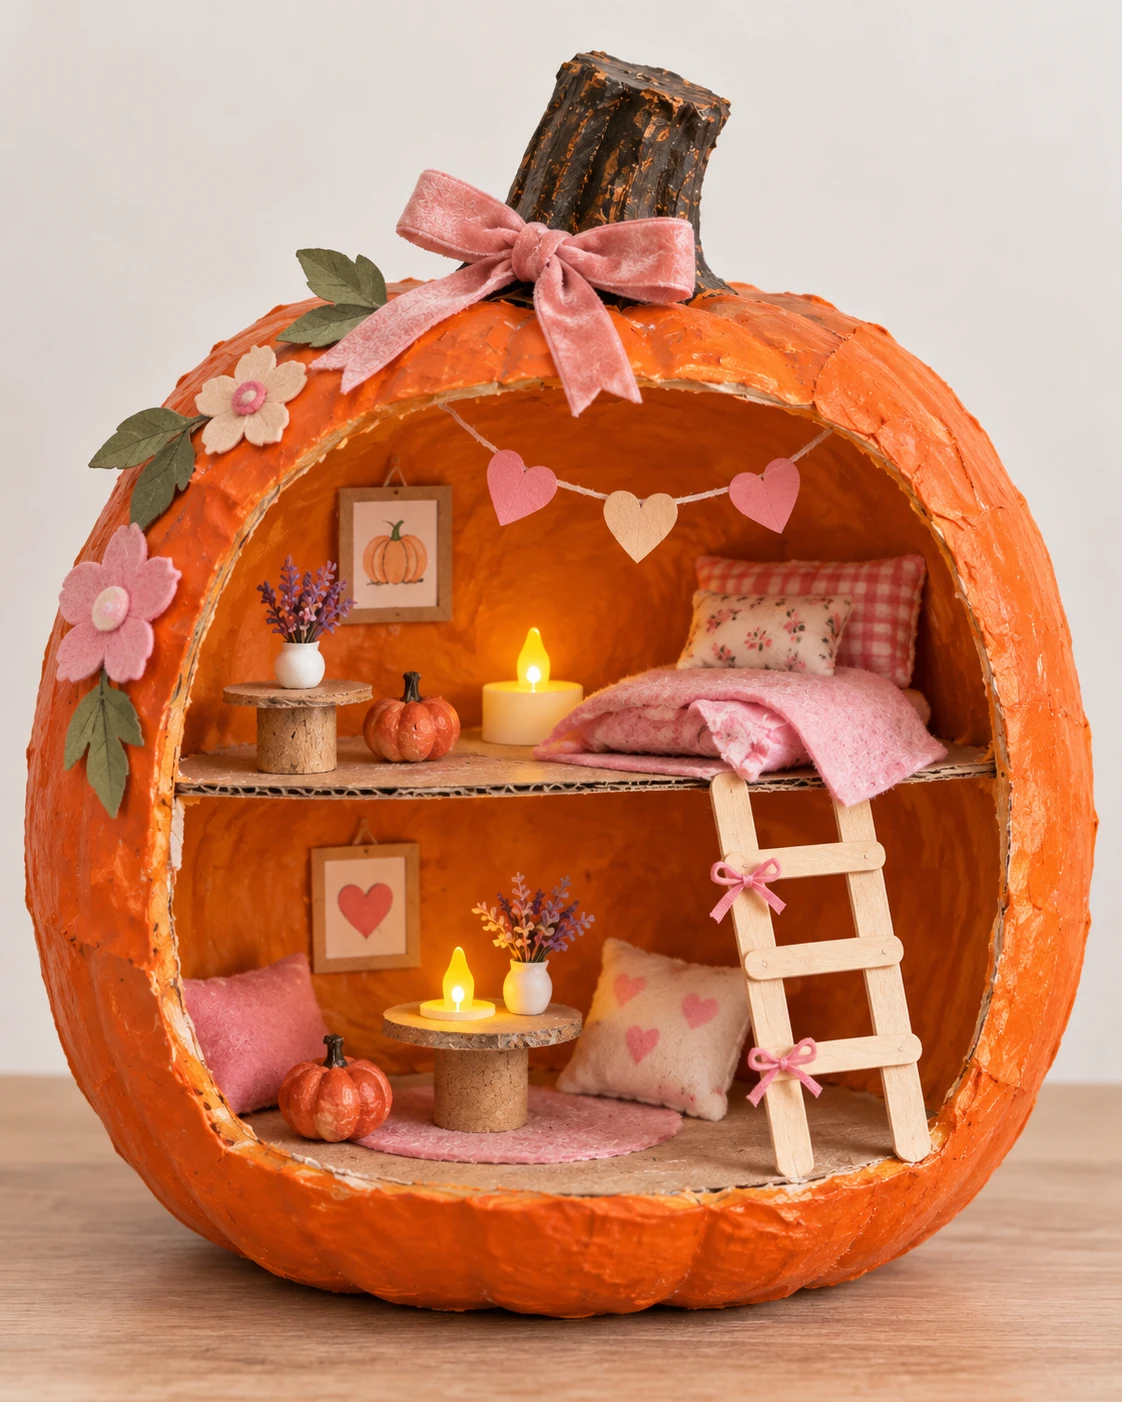
All of these crafts work at home. But if your child is 7–12 and wants to try something bigger, on Sunday 18 October at 10:00 we're making a pumpkin house at the studio: a papier-mâché pumpkin with two floors inside, furnished with a bed, a ladder, a garland and a tiny light that really glows. The workshop is in English, at Branickiego 21A/U2 in Wilanów. Save your child a place here.
Looking for Halloween ideas too? Have a look at our 3 Halloween crafts kids love.
Ready to start creating?
Bring your little artist to a class where English just happens.
Book a class